Introduction:
Welcome to our blog post, where we’ll share a fascinating journey of reviving a second-hand 3D printer, specifically the Elegoo Neptune 2S. In this article, we’ll explore the process of repairing this printer, addressing common issues such as a broken Y-axis motor plate and a faulty timing belt. Join us as we delve into the steps taken to restore this neglected printer to its full potential, and gain insights into troubleshooting techniques and repair strategies along the way.
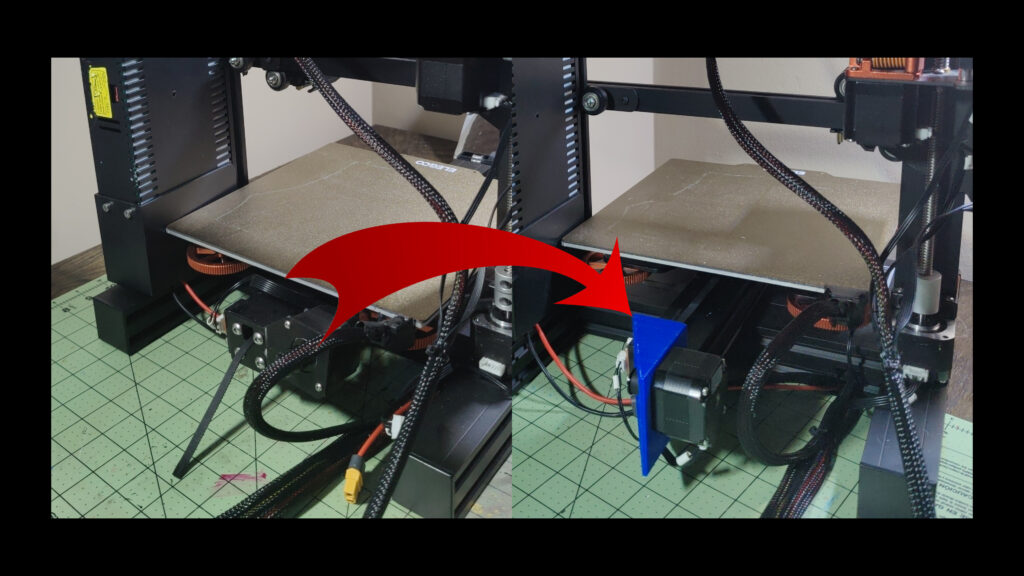
Section 1: Assessing the Damage The first step in repairing the Elegoo Neptune 2S is to thoroughly assess the damage. We’ll discuss the importance of identifying the broken Y-axis motor plate and the impact it has on the printer’s functionality. Understanding the extent of the damage sets the foundation for the subsequent repair process.
Section 2: Designing a New Motor Plate in Blender To rectify the broken Y-axis motor plate, we turned to the powerful 3D modeling software Blender. In this section, we’ll walk you through the process of designing a new motor plate from scratch. From measuring dimensions to creating a precise model, you’ll gain insights into the design and prototyping stage of the repair.
Section 3: Replacing the Timing Belt With the new motor plate designed, the next step is to address the faulty timing belt. We’ll guide you through the process of safely removing the old belt and installing a new one. Proper timing belt replacement ensures smooth and accurate movements, ultimately improving the printer’s overall performance.
Section 4: Leveling the Printer An essential aspect of any 3D printer’s functionality is the proper leveling of the print bed. We’ll discuss the significance of this step and provide a detailed guide on how to level the Elegoo Neptune 2S. By achieving optimal bed leveling, you’ll enhance the print quality and accuracy of your future creations.
Section 5: Printing Test Cube and Buddha To put the repaired printer to the test, we’ll demonstrate the printing of a test cube and a Buddha model. We’ll discuss the importance of these benchmark prints in evaluating the printer’s performance and assessing the success of the repair. Additionally, we’ll share tips for achieving excellent print results and troubleshooting potential issues that may arise.
Conclusion: In conclusion, the journey of repairing a second-hand 3D printer like the Elegoo Neptune 2S is both challenging and rewarding. By addressing issues such as a broken Y-axis motor plate and a faulty timing belt, we’ve revived a neglected printer and restored it to full functionality. We hope this article has provided valuable insights into the repair process, from assessing the damage to designing and replacing essential components. With these skills and knowledge, you’ll be well-equipped to tackle similar repairs and unleash the full potential of your 3D printing endeavors.
Remember, each repair journey is unique, and it’s crucial to adapt the techniques discussed here to your specific printer model and circumstances. Happy repairing and happy printing!
YouTube video reference:
“Repairing a Second-Hand Elegoo Neptune 2S: Fixing Y-Axis and Timing Belt”
